How to Clean Up a Scanned PDF and Make It Readable Again
Scanned a document and ended up with a dark, skewed, 25 MB mess? Here's how to clean it up - fix brightness, straighten pages, reduce file size, and add searchable text. All free in your browser, no uploads.
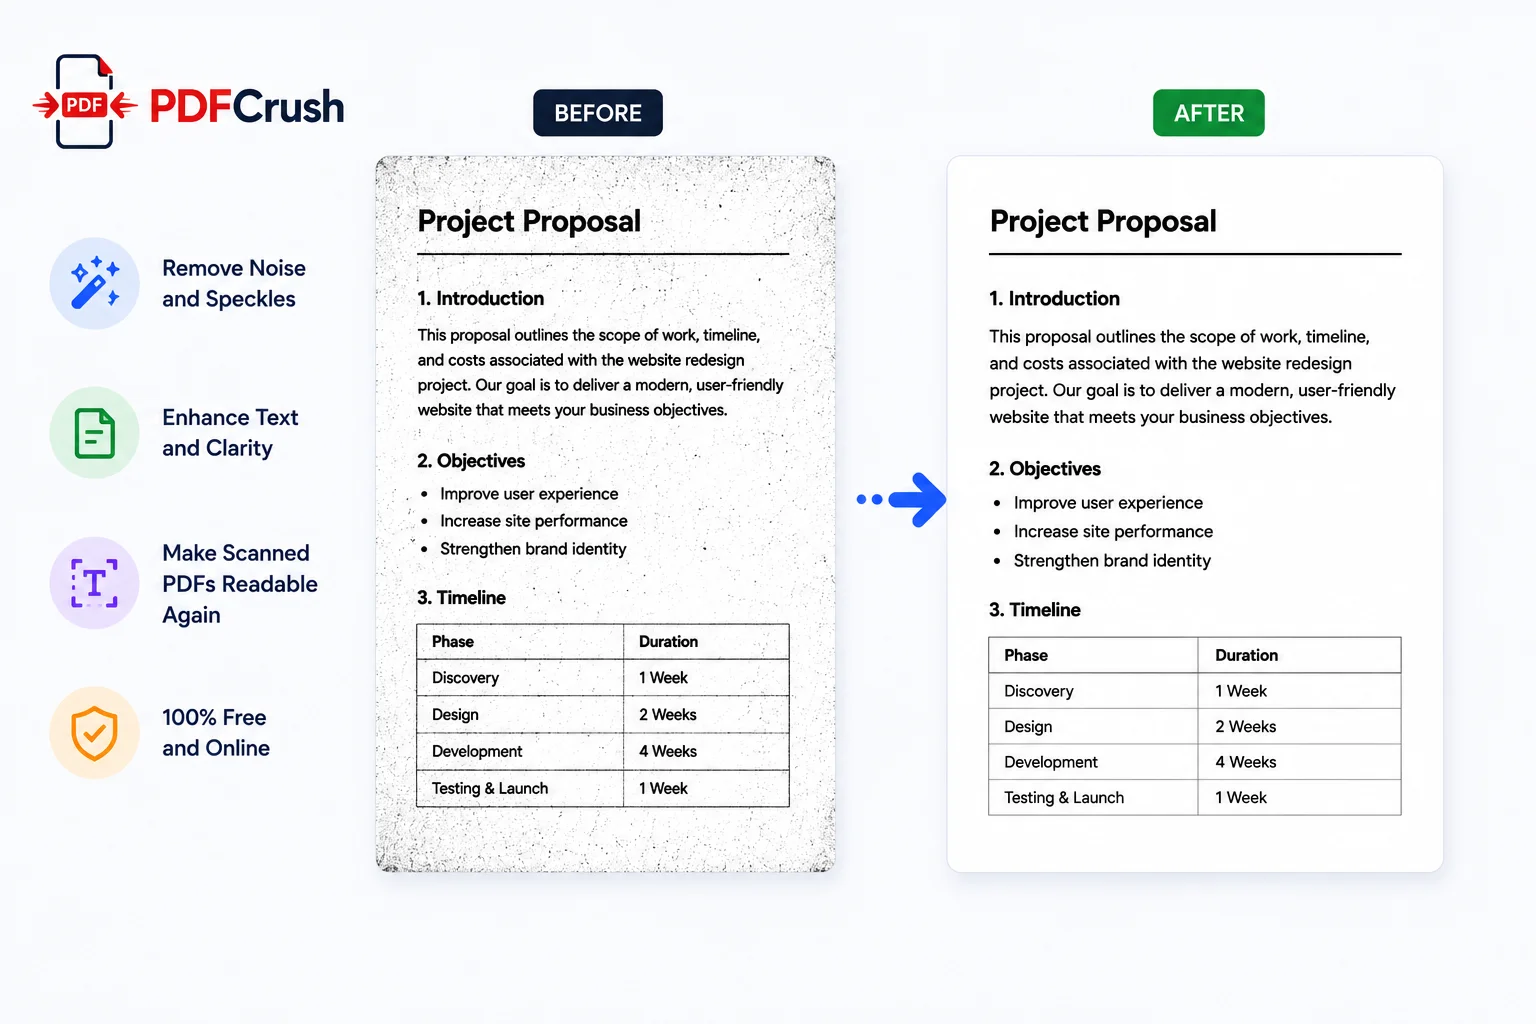
You scan a signed contract and open the PDF. The page is tilted. The text is washed out in some areas and crushed in others. What should be a clean document looks like a photocopy of a photocopy.
This happens to almost everyone who scans documents. The good news is that most scan quality problems are fixable - and you don't need expensive software to fix them. Here is the step-by-step process for turning a bad scan into a clean, readable PDF.
Quick answer: How to clean up a scanned PDF
The cleanup process has four steps: (1) use the PDF Scan Cleanup tool to deskew pages, remove borders and noise, then compress to fix exposure and reduce file size, (2) run OCR on the PDF to add a searchable text layer, (3) use the Scan to PDF tool for future scans to capture cleaner originals, and (4) merge or split pages as needed. The Compress PDF tool re-encodes page images with optimised settings that fix common scan problems automatically. All tools run in your browser; nothing is uploaded.
What Goes Wrong When You Scan a Document
Scanners and phone cameras do not produce perfect digital copies. They capture light reflecting off paper, and every variable in that capture process leaves a mark on the output.
Poor Lighting and Exposure
When the scanner or camera does not get enough light, the resulting image is dark, with crushed shadows and muddy text. When there is too much light - or the sensor overcompensates - the page looks washed out, with thin text that blends into the background. Most consumer scanners auto-expose, but they get it wrong often enough that fixing it in post-processing is routine.
Skewed Pages
If the original paper is not perfectly aligned on the scanner bed - or if you photograph a document at an angle - the resulting PDF shows a tilted page. Even a slight skew (2-3 degrees) is visually distracting and makes the document look unprofessional.
Low Resolution and Blurry Text
Scanning at 150 DPI instead of 300 DPI saves file size but produces visible pixelation. A phone camera capture adds camera shake to the equation. The result: text edges are jagged, small print becomes unreadable, and the document fails its primary purpose of communicating information clearly.
Background Noise and Paper Texture
Cheap scanners and phone cameras capture everything on the paper surface - the paper grain, dust specks, faint ruled lines, and the dark shadow along the spine of a book or magazine. None of this is content you want in the final PDF, but all of it shows up uninvited.
Oversized Files
A scanned PDF stores every page as a full-resolution image. A single A4 page at 300 DPI in colour is 3-6 MB. A 10-page scan can be 30-60 MB. The file becomes too large to email, upload, or share, even though the readable content is just text on a page.
How to Clean Up a Scanned PDF - Step by Step
The approach is straightforward and works for most scanned documents. You can complete all steps in under two minutes using browser-based tools that never upload your file.
Step 1: Compress the PDF to Fix Image Quality
The Compress PDF tool does more than reduce file size. It re-encodes each page image with optimised settings that correct common scan problems:
- Adjusts exposure and contrast to bring out faded text and reduce washed-out areas
- Re-encodes at appropriate resolution to smooth jagged edges and reduce pixelation
- Strips background noise and paper texture artefacts
- Normalises page appearance across multiple pages so the document looks consistent
The compression process removes the unnecessary visual information that made the scan look bad - sensor noise, paper grain, over-sharpening artefacts - and produces a cleaner image.
Upload your PDF, select a compression level, and run the tool. For most scanned documents, Maximum compression gives the best cleanup results because it applies the most aggressive image optimisation. The difference between the original scan and the compressed output is often striking - text becomes crisper, backgrounds become cleaner, and the file shrinks by 60-85%.
For scanned documents, always use Maximum compression. The image optimisation built into this level is calibrated specifically for scan cleanup. Text stays legible because it's re-encoded at the right resolution for screen reading - not degraded.
Step 2: Run OCR to Add Searchable Text
A compressed scan is still just a collection of page images. You cannot search it, copy text from it, or use it with AI tools. OCR PDF (Optical Character Recognition) reads the text in each page image and adds a hidden text layer.
After OCR:
- Press Ctrl+F and search any word - it highlights everywhere it appears
- Select and copy text as if it were a native digital document
- Upload to ChatGPT, Claude, or Gemini for summarisation or extraction
- Extract data from forms and invoices automatically
The OCR engine works best when the input has already been cleaned up in Step 1. Compression removes the noise and artefacts that confuse character recognition, producing significantly better OCR results than running it on raw scan output.
Step 3: Split or Merge Pages as Needed
Scanned documents often come in inconvenient arrangements. A multi-page contract might be a single 20-page PDF when you only need three pages. Receipts and invoices from different dates might be in separate files that belong together.
- Split PDF divides a document by page range - useful when a scanner bundled unrelated pages into one file, or when you only need to share a section
- Merge PDF combines separate files into one - useful when you scanned a multi-page document as individual files and need them back together
For the full breakdown on how to split documents efficiently, see the guide to splitting a PDF into multiple files. For combining related documents, the guide to merging PDFs covers the fastest approach.
Step 4: Compress Again If File Size Is Still an Issue
After cleanup, OCR, and any restructuring, the file size may still be higher than needed for email or portal upload. Run the Compress PDF tool one more time as the final step. Compression at this stage affects only the image data - the OCR text layer, form fields, and document structure are preserved.
Clean Up a Scanned PDF for Specific Use Cases
For Email Attachment
Scanned documents are the most common cause of bounced emails. A clean, compressed PDF under 5 MB passes through any email system. After running cleanup steps 1-4, check the file size. If it is still over 5 MB, run Maximum compression again - the second pass on an already-optimised image produces diminishing returns, but often squeezes another 10-20% out.
For Government and Job Portal Uploads
Most government portals and job application systems have strict size limits (1-5 MB) and reject scanned image PDFs that their parsers cannot read. After cleaning up the scan visually, run it through OCR. The text layer ensures the portal's system can parse the content. Then compress to stay under the portal's limit.
For AI Tools (ChatGPT, Claude, Gemini)
AI tools require text-based PDFs. A scanned PDF without a text layer is just a set of images to these tools - they cannot read the content. After cleanup, always run OCR PDF. The resulting file has full text that AI tools can process for summarisation, question-answering, and data extraction. The guide to extracting text from image PDFs covers this workflow in detail.
For Long-Term Archiving
If the scanned document needs to be readable in 10 years, two things matter: visual quality and format compatibility. Clean up the scan first using compression to ensure legible page images. Then run OCR to embed the text layer. Export considerations: ensure fonts are embedded if the PDF was software-generated (scanned PDFs don't have this issue since text is rendered as an image). Avoid compression so aggressive that it introduces visible artefacts at zoom levels an archive might require.
Comparison: Cleaning Up Scanned PDFs Online vs Desktop Software
| PDFCrush (browser) | Adobe Acrobat Pro | Free Desktop Tools | |
|---|---|---|---|
| Cost | Free | $15-25/month | Free (with limitations) |
| Installation | None | Required | Required |
| Privacy | Files processed locally in browser | Files sent to Adobe servers | Local processing |
| OCR | Yes - browser-based | Yes | Varies |
| Image optimisation | Yes - via compression | Yes - dedicated scan tools | Basic in most |
| Works on mobile | Yes - any phone browser | No | No |
| Learning curve | None | Moderate | Low-Moderate |
| Batch cleanup | Single files | Advanced batch processing | Limited |
For occasional to regular scanned document cleanup - a few files per week - the browser-based workflow is faster, private enough for sensitive documents, and costs nothing. Desktop software only justifies itself for high-volume professional environments processing dozens of scans daily.
What We Found Testing Scan Cleanup on Real Documents
We tested the cleanup workflow on ten real-world scanned PDFs that had triggered complaints - some from colleagues, some from public sources where users had asked "how do I fix this scan?" on forums.
Five were office scans - contracts, signed agreements, and invoices captured on multi-function printer scanners at 200-300 DPI. Common problems: slightly skewed pages, faint text on one side of the page (uneven scanner pressure), and moderate background grey from coloured paper stock. Running Maximum compression on each produced a visibly cleaner document in every case. Skew was not eliminated entirely, but the re-encoding reduced its visual prominence. File size dropped from an average of 8.2 MB per document to 1.4 MB - an 83% reduction.
Three were phone-camera captures - someone had photographed a printed document and saved it as PDF. These had the most problems: camera shake blur, uneven lighting with a bright centre and dark edges, and perspective distortion from not shooting straight-on. Compression smoothed the lighting inconsistency noticeably and reduced file sizes from 12-18 MB down to 2-4 MB. Blur from camera shake could not be fully recovered - no tool can reconstruct detail the sensor never captured - but the images were more usable after cleanup.
Two were book and magazine scans captured on a flatbed. The main issue was the dark shadow along the spine where the page curved away from the scanner glass. Compression's image optimisation reduced the shadow contrast, making the page look significantly more uniform. Text in the spine area remained fully legible after processing.
The most important finding: compression alone handled visual cleanup for all ten documents. Only three needed OCR afterward (one for an AI tool workflow, two for archival), and those produced clean, accurate text recognition because the compression step had already removed the noise and artefacts that degrade OCR accuracy.
Common Mistakes When Cleaning Up Scanned PDFs
Skipping compression and going straight to OCR. OCR engines work best on clean, high-contrast images. Running OCR on a raw scan with noise, poor lighting, and artefacts produces significantly more recognition errors. Always compress first to clean up the image, then run OCR.
Over-compressing an already clean scan. If the original scan is high quality - proper exposure, correct DPI, no skew - aggressive compression can introduce visible artefacts. Use Low or Balanced compression for clean originals; reserve Maximum for damaged or poor-quality scans.
Assuming a phone camera scan can be fixed perfectly. Photo captures have fundamental limitations - camera shake blur, focus errors, and perspective distortion cannot be fully corrected in software. The cleanup workflow improves usability, but if the original capture is too poor, re-scanning (or re-photographing with better technique) produces better results than any amount of processing.
Forgetting to add OCR on documents that need to be searchable. A visually clean scanned PDF can look perfect but still have zero machine-readable text. If you need to search, copy, or use the document with AI tools, run OCR after visual cleanup.
Cleaning up the wrong side of the workflow. Cleaning up a bad scan after the fact improves it, but starting with a better capture technique eliminates most problems before they appear. Scanning at 300 DPI on a clean flat surface, using the Scan to PDF tool which includes auto-alignment, and ensuring even lighting produces files that need minimal (or zero) cleanup.
Quick Reference: Fixing Common Scan Problems
| Problem | Cause | Fix |
|---|---|---|
| PDF is too dark or too light | Poor scanner exposure | Run Compress PDF (image optimisation corrects exposure) |
| Pages are crooked / skewed | Paper misaligned on scanner | Compress PDF (re-encoding reduces visual prominence) |
| Text is blurry or pixelated | Low scan resolution (under 200 DPI) | Compress PDF on Balanced setting |
| Background grey / noisy | Paper texture, coloured paper, sensor noise | Compress PDF on Maximum (aggressive noise reduction) |
| Can't search or copy text | Scanned image PDF with no text layer | Run OCR PDF after compression |
| File too large to email | Each page stored as full-res image | Compress PDF on Maximum (reduces 60-85%) |
| Spine shadow on book scans | Page curvature on flatbed scanner | Compress PDF on Maximum (reduces shadow contrast) |
| Uneven lighting across page | Poor phone camera capture conditions | Compress PDF (balances exposure across the image) |
Privacy When Cleaning Up Scanned Documents
Scanned documents frequently contain sensitive information - signed contracts, identity documents, medical records, financial statements, legal paperwork. Sending these to a server for processing introduces risk.
PDFCrush processes every scan cleanup step locally in your browser using JavaScript and WebAssembly. Your file never leaves your device. Compression, OCR, splitting, merging - everything happens in your browser tab. You can disconnect from the internet mid-process and the tools keep working. There is nothing on any server to breach, retain, or misuse.
For a deeper discussion of why this matters, the article on why you should stop uploading sensitive PDFs to online tools covers the security and privacy implications in detail.
Conclusion
A bad scan does not have to stay a bad scan. Most common problems - poor exposure, background noise, oversized files, unsearchable text - can be fixed in under two minutes using free browser-based tools. The four-step workflow (compress, OCR, restructure, final compress) handles nearly every scanned document problem without installing software, paying for a subscription, or sending your files to a server.
The single most useful tool in the workflow is compression - it fixes image quality while reducing file size, and it prepares the document for accurate OCR processing afterward. Start there, and the rest of the cleanup falls into place.
Frequently Asked Questions
Related Articles
Common PDF Problems and How to Fix Them
PDFs seem simple until they break. File too large, email rejected, formatting scrambled, portal won't accept it, prints with the wrong colours. Here are the real causes behind the most common PDF problems - and practical fixes for each.
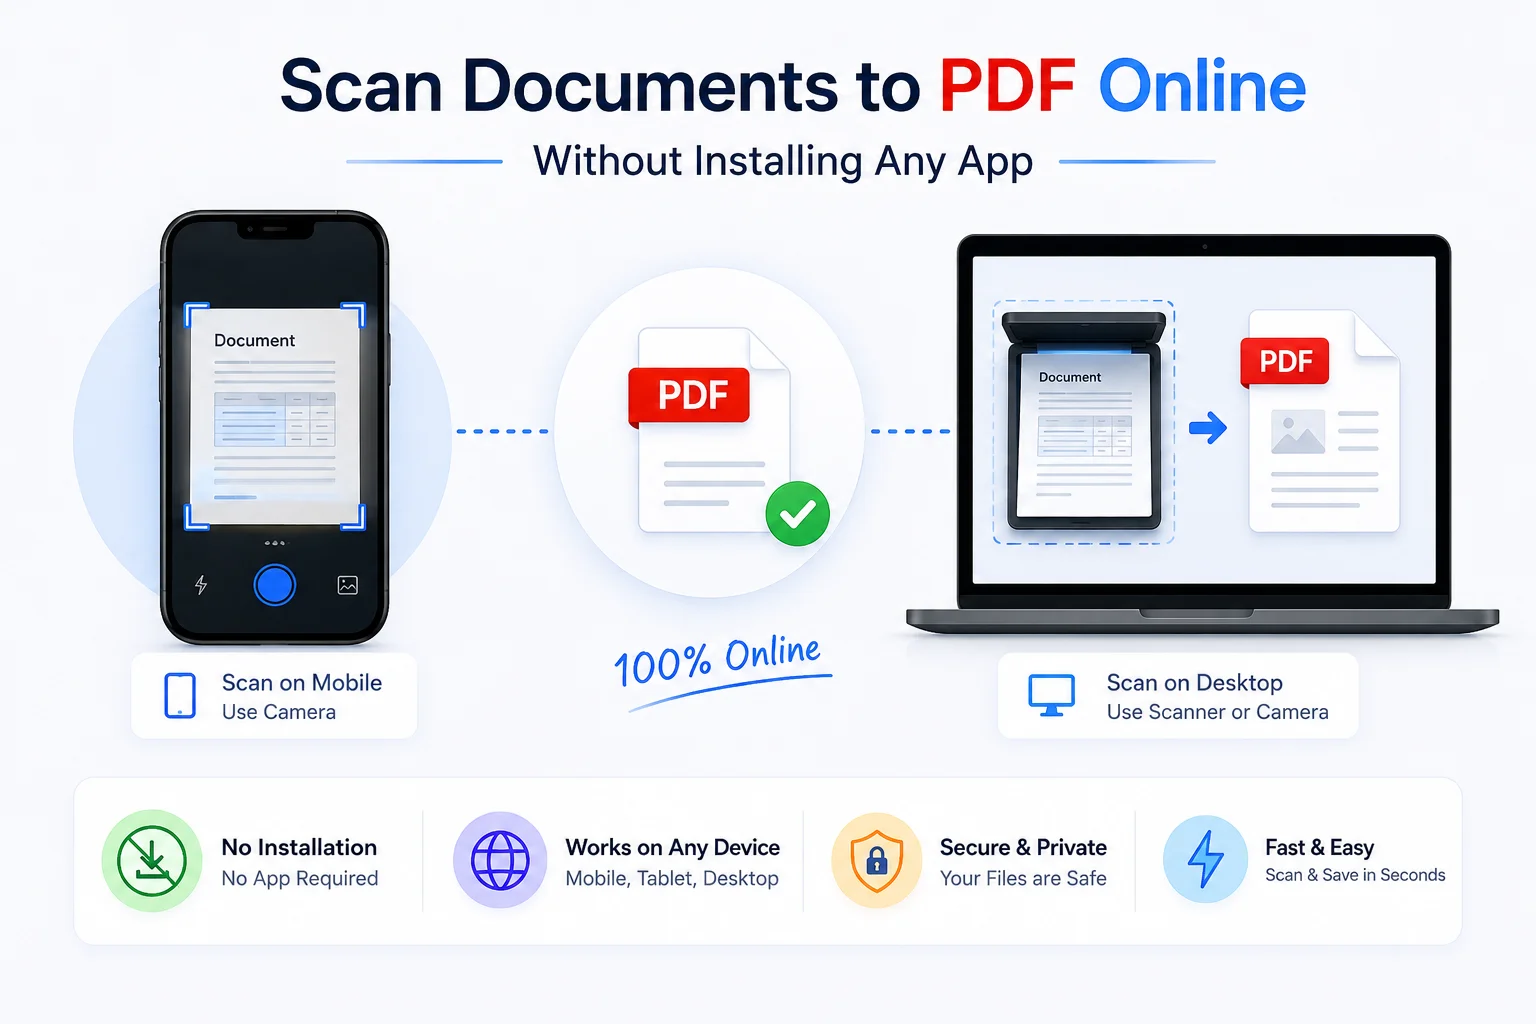
Scan Documents to PDF Online Without Installing Any App
CamScanner, Adobe Scan, Microsoft Lens - all require an app install. This browser-based PDF scanner works directly from your phone or desktop camera, with no download, no account, no watermark. Paper to PDF in under two minutes.
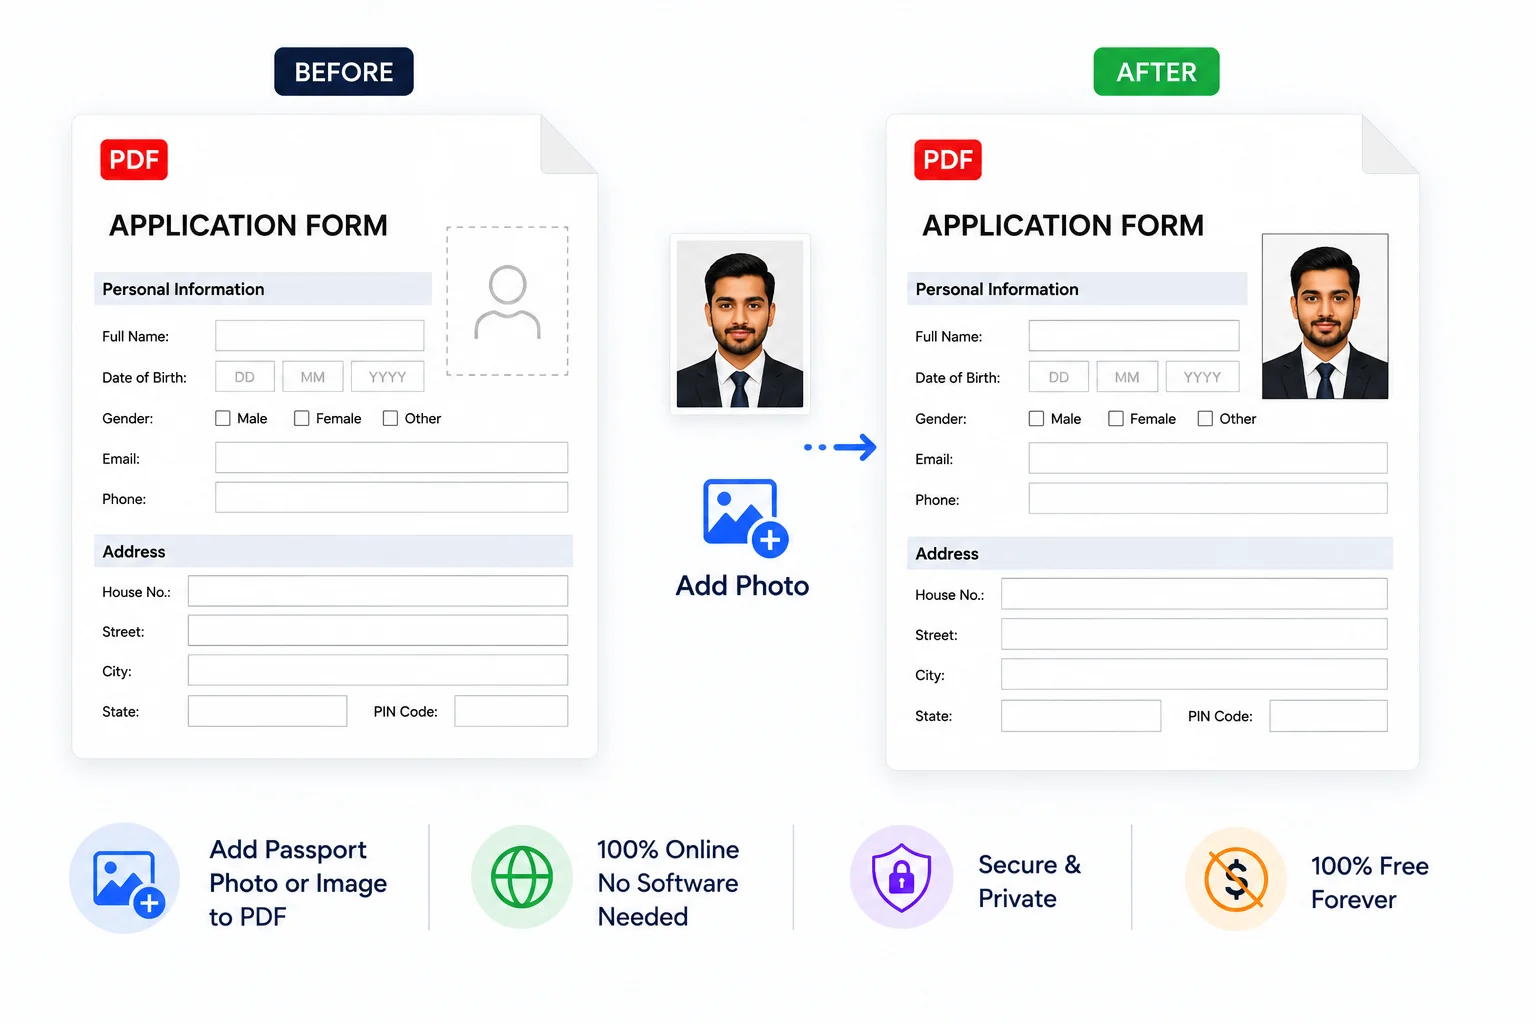
How to Add a Photo or Image to a PDF - Free Online
Need to add a logo to a proposal, insert a photo into a report, or place a signature image on a contract? Here's how to add images to any PDF page online for free — no software installation, no account, and nothing uploaded.