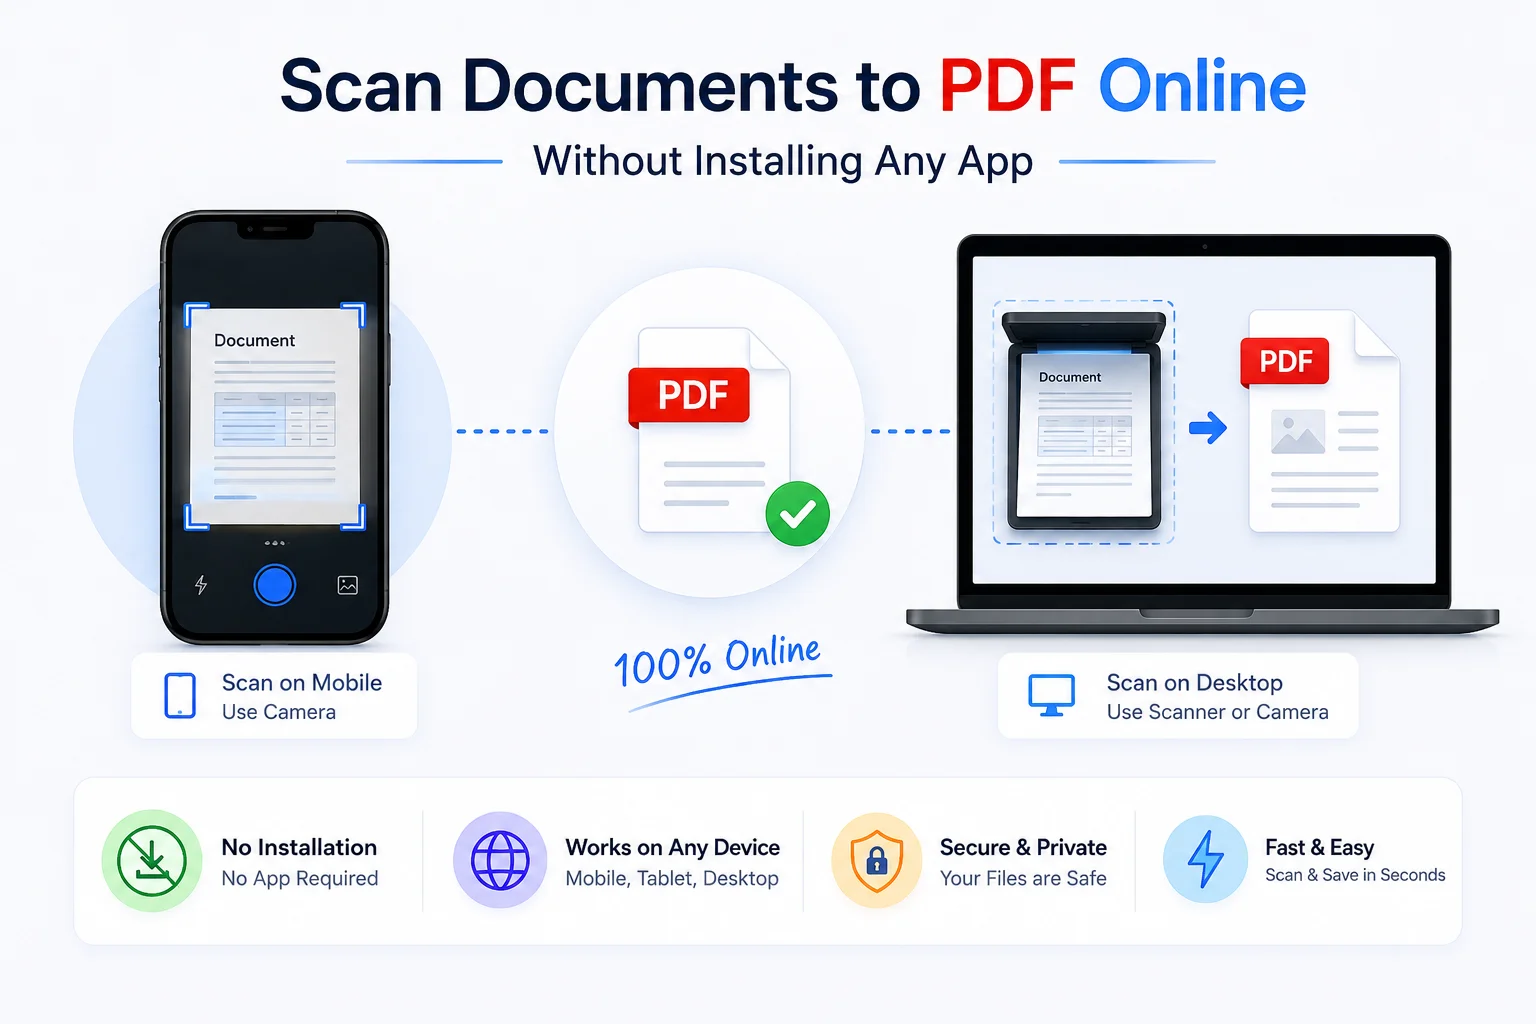
Scan Documents to PDF Online Without Installing Any App
CamScanner, Adobe Scan, Microsoft Lens - all require an app install. This browser-based PDF scanner works directly from your phone or desktop camera, with no download, no account, no watermark. Paper to PDF in under two minutes.
You have a paper document. You need a PDF. You don't want to install another app on your phone.
Modern mobile browsers can access your camera directly - which means a browser-based document scanner can take a photo you shoot and convert it to a clean PDF with no app, no account, no watermark. This is document digitization without the friction: open a tab, scan, download, done.
Quick answer: How do I scan a document to PDF without an app?
Open PDFCrush Scan to PDF in your phone's browser, tap the camera button, photograph the document, and download the PDF — no install, no account, no watermark. The whole process runs locally in the browser tab and takes under two minutes for a single page.
Why You Don't Need an App to Scan Documents
CamScanner, Adobe Scan, and Microsoft Lens are the dominant mobile scanning apps - and all three require a download, an account, and ongoing storage on your device. CamScanner's free tier adds a watermark. Adobe Scan requires an Adobe account. Microsoft Lens pushes files into OneDrive.
A browser-based document scanner online sidesteps all of this. Open the tool in Chrome or Safari, grant camera access once, scan, download. No install, no account, no watermark, no cloud sync you didn't ask for.
A dedicated scanning app has one advantage: real-time edge detection while you frame the shot. For everything else - cropping, perspective correction, contrast enhancement, and PDF creation - a lightweight browser PDF scanner does the same job.
For anyone who scans occasionally (a few documents a week), the overhead of installing and maintaining an app is not worth it. Browser tools work on any device, use no storage space, and don't need permissions beyond camera access for that one session.
The practical workflow is identical: photograph the document, the tool processes the image, you download a PDF.
How to Scan a Document to PDF from Your Phone
This takes under two minutes for a single-page document:
- Open Scan to PDF in your phone browser (Chrome on Android, Safari on iPhone)
- Tap the upload or camera button
- Select Camera (not Photo Library, unless you already took the photo)
- Photograph the document
- The tool crops and processes the image automatically
- Download the resulting PDF to your device
For a document you've already photographed:
- Open Scan to PDF
- Tap upload
- Select the photo from your gallery
- Download the PDF
The output is a standard PDF that opens in any app - Gmail, WhatsApp, Google Drive, any PDF reader.
Getting a Clean Scan Every Time
The quality of the PDF depends almost entirely on the quality of the photograph. The tool can auto-correct for minor issues - light skew, minor shadows, imperfect cropping - but it cannot recover a genuinely bad photo.
Lighting
Good lighting is the single biggest factor. Position the document near a window for natural light, or directly under a bright indoor lamp. The goal is even, strong light with no harsh shadows.
Avoid:
- Flash - creates glare that washes out text near the centre
- Backlighting - makes the document look dark and underexposed
- Mixed light sources - phone light on one side, window on the other creates uneven shadows
Background
Place the document on a dark, plain surface - a black desk, dark clothing, a dark folder. Most browser-based tools auto-detect document edges by finding contrast between the document and what's behind it. A dark background against white paper gives the clearest edge detection.
Avoid patterned surfaces (tablecloths, textured desks) - they confuse the edge detection algorithm and produce cropping errors.
Camera angle
Hold your phone directly above the document with the camera parallel to the page. A slight angle creates a trapezoidal distortion - the tool can correct mild versions, but steep angles result in visible perspective warp in the PDF.
Keeping the document flat
Curled or folded documents produce shadows at the curves, which become dark bands across the scan. Press creases flat before shooting. For a bound document being scanned open, press the spine flat with one hand while shooting with the other.
Scanning Multiple Pages into One PDF
Most documents are more than one page. For a multi-page document, you have two options:
Option 1: Scan each page, then merge
- Photograph each page and save each as a separate PDF
- Open Merge PDF
- Upload all the individual page PDFs
- Reorder if needed
- Download the merged document
This approach works well when pages need to be reviewed or reordered before combining.
Option 2: Use multi-photo upload
Some scan tools let you add multiple photos in one session before creating the PDF. If this is available, photograph all pages in sequence and generate one PDF directly.
For a typical 5-page contract or form, Option 1 takes under 5 minutes from paper to a single combined PDF.
Common Mistakes When Scanning Documents to PDF
Shooting at an angle instead of straight overhead. Even mild tilt produces a trapezoidal warp that the tool can only partially correct. Hold the camera flat and parallel to the page - directly above, not from the side.
Using flash on glossy or printed paper. Flash bounces straight back off the page and washes out the centre of the document in glare. Natural light or a steady lamp produces a far cleaner result.
Skipping OCR on documents you'll need to search later. A scanned PDF looks like text but isn't - it's a photograph. If you'll ever need to find a clause, copy a number, or feed the document to an AI tool, run OCR PDF immediately after scanning, while you remember.
Uploading the raw scan without compressing it. A single scanned page can be 3-8 MB. Government portals and email attachments routinely cap far below that. Run it through Compress PDF before you hit submit, not after the upload fails.
Scanning sensitive documents through tools that upload to a server. Identity cards, bank statements, and signed contracts shouldn't leave your device to become a PDF. Confirm the tool processes locally before you point a camera at anything sensitive.
After Scanning: Make the Text Searchable
A scanned PDF stores each page as a raster image - a photograph. The text looks readable on screen, but it is not selectable, searchable, or usable by AI tools. The document is visually a page of text, computationally a photograph.
To make a scanned PDF searchable, run it through OCR PDF (Optical Character Recognition). OCR reads the image, identifies each character, and adds an invisible text layer aligned with its position on the page — entirely in your browser, so the document never has to leave your device to become searchable.
After OCR:
- Ctrl+F finds words across the entire document
- You can click and select any text passage
- AI tools (ChatGPT, Claude, NotebookLM) can read and summarise the document
- Invoice data, form fields, and table values become extractable
For the full breakdown of what OCR can and can't extract reliably - including how accuracy varies between clean print, tables, and handwriting - see the guide to converting invoice PDFs to Excel, which covers the OCR-to-structured-data pipeline in depth.
After Scanning: Reduce the File Size
A scanned PDF is large. Each page is stored as a full-resolution image, and a single-page scan from a modern phone camera typically produces a PDF between 2 MB and 8 MB. A 10-page scanned document can easily reach 30-50 MB.
For sharing via email (Gmail attachment limit: 25 MB), WhatsApp (document limit: 100 MB but slow for large files), or uploading to government portals (often 2-5 MB limits), this is a practical problem.
Running it through Compress PDF reduces file size by 60-85% with minimal visible quality loss for standard documents:
| Document type | Typical raw scan size | After compression |
|---|---|---|
| Single-page letter | 3-5 MB | 400-800 KB |
| 5-page contract | 15-25 MB | 2-4 MB |
| 10-page report | 30-50 MB | 4-8 MB |
| Utility bill (1 page) | 2-4 MB | 250-500 KB |
For more on hitting specific file size targets for portal uploads (under 2 MB, under 500 KB), see the compression walkthrough in the student PDF toolkit guide, which covers the same size constraints from the upload side.
Common Documents People Scan to PDF
Identity and government documents
Aadhaar card, PAN card, passport, voter ID, driving licence, ration card - government processes regularly ask for PDF copies of these. Photograph both sides if required, create two separate PDFs, then merge into one document if both sides must be submitted together.
Scan at arm's length to capture the full card without cropping. Most phone cameras at standard distance capture an ID card cleanly.
Academic documents
Marksheets, admit cards, degree certificates, transcripts - universities and employers ask for PDFs of these regularly. For old printed marksheets, good lighting and a flat surface produce clean results. After scanning, run OCR to make student names, roll numbers, and grades searchable and extractable.
Financial documents
Bank statements, utility bills, salary slips, rent receipts - frequently required for loan applications, visa applications, and tax filings. Scan at standard settings and compress before uploading - most financial portals have file size limits of 1-2 MB.
For invoices specifically: after scanning, OCR the document, then use Invoice Extractor to automatically pull vendor name, invoice number, line items, and totals into structured data without manual typing. The guide to converting invoice PDFs to Excel covers this exact workflow end to end.
Legal and business documents
Signed contracts, agreements, NDAs, and notarised documents that exist only as paper need to be preserved as PDF. For important legal documents, scan at 300 DPI if your phone supports it - higher resolution preserves fine print and stamps more accurately. OCR after scanning if the document needs to be searched or referenced later. For legal productions that require sequential page identifiers on the final set, the guide to adding Bates numbers to a PDF covers that step after scanning.
Handwritten notes
Field notes, meeting minutes, handwritten forms, medical prescription pads. OCR accuracy for neat printed handwriting is 80-90%; for informal cursive, treat the extracted text as a rough draft that needs review. For notes that don't need to be searchable, the plain scan as a PDF is sufficient.
Scanning on Desktop Without a Physical Scanner
If you have paper documents and only a PC - no phone, no flatbed scanner - you still have options.
Use your desktop or laptop camera directly
Most laptops and desktop webcams can capture document photos directly from the browser - no app, no software install. The browser's camera API lets any web tool access your webcam with a single permission click.
Step-by-step:
- Open Scan to PDF in your PC browser (Chrome or Edge recommended)
- Click the upload or camera button
- Select Use Camera when prompted
- Allow camera access - the browser will ask once
- Position the document flat on your desk and hold your webcam or laptop above it
- Click the capture button to take the photo
- The tool processes and converts the image to PDF
- Download the result
For a laptop: flip it open at a wide angle and hold the document below the camera - the screen hinge often allows enough tilt to point the camera straight down at a flat surface.
For an external webcam: clip it to a shelf or stack of books directly above the document for the cleanest overhead angle.
Tips for getting a clean webcam scan
- Lighting matters most: place the document directly under a desk lamp or near a window. Webcam sensors are smaller than phone cameras and need more light to produce clean images
- Keep it flat: tape down curled corners or place a piece of glass over the document to prevent shadow creases
- Get close: fill the frame with the document. The closer the webcam, the more detail it captures per pixel
- Avoid the built-in laptop screen glow: if the screen is behind the webcam, its light creates uneven colour cast on the document. Point the screen away or dim it
Webcam image quality is lower than a modern phone camera, but for standard printed documents - letters, forms, utility bills, certificates - the output is clean enough for practical use.
Use your phone as the camera, process on PC
If webcam quality is insufficient for a specific document:
- Photograph the document with your phone
- Transfer the photo to your PC (via Google Photos, WhatsApp Web, USB, or email)
- Open Scan to PDF in your PC browser
- Upload the photo
- Download the PDF
Who Uses a Browser-Based PDF Scanner
Students scan handwritten notes, filled assignment sheets, printed question papers, and textbook pages. The no-install requirement is especially useful on school computers or restricted lab devices where downloading apps is blocked. Scan the assignment on your phone browser, submit the PDF - done.
Office workers scan signed forms, delivery receipts, purchase orders, and correspondence that arrives on paper. A lightweight PDF scanner online replaces the office photocopier for document digitization workflows that only need a PDF, not a full-resolution archive scan.
Freelancers and small businesses scan client contracts, signed agreements, and paper invoices. The mobile scanning workflow - photograph on phone, compress, email - removes the need for any dedicated scanning hardware for occasional document management tasks.
Travellers and field workers scan documents on the go: hotel receipts, signed waivers, delivery confirmation sheets, handover documents. Browser-based scanning works anywhere with a mobile signal - no app pre-installed, no cloud storage account required.
Privacy When Scanning Sensitive Documents
Documents most commonly scanned - identity cards, contracts, medical records, bank statements - are also the most sensitive. Sending photographs of these to a server-side processing tool means your document data passes through another company's infrastructure, where it may be stored, logged, or processed.
PDFCrush processes all file conversion locally in your browser. Your photo or document never leaves your device - the conversion runs as JavaScript in your browser tab. You can verify this by switching to aeroplane mode mid-process and watching the conversion continue normally.
For identity documents and financial papers, local processing is not optional - it's the only appropriate choice. For more on why you should avoid uploading sensitive documents to online tools, see stop uploading sensitive PDFs online. If a scanned document needs sections hidden before it's shared further - case numbers, account details, other people's information visible in the frame - the guide to permanently removing sensitive information from PDFs explains why a black box over a photo isn't enough and what actually is.
What We Found Testing Phone and Webcam Scans
We ran the same batch - a single-page utility bill, a 5-page rental agreement, and a worn ID card - through PDFCrush's Scan to PDF using a mid-range Android phone, an iPhone, and a basic laptop webcam.
Phone cameras (both platforms) produced the cleanest results with minimal setup: good light, a dark desk surface, camera held flat. Edge detection cropped accurately on the first attempt for 9 of 10 shots.
The webcam scan needed more effort. Lower sensor resolution meant we had to move the laptop closer and add a second light source to avoid the screen's glow casting a colour tint. Once corrected, the output was readable but visibly softer than the phone scans - fine for a utility bill, less ideal for a contract with fine print.
OCR accuracy tracked photo quality directly. The phone scans returned 97-99% accurate text after running through OCR PDF; the webcam scan of the same document type came back closer to 90%, mostly losing small print at the page edges.
File sizes landed where expected. Single-page phone scans averaged 4 MB before compression and under 700 KB after - consistent with the typical-size table above.
The practical conclusion: phone cameras are the better default for anything with small text or fine print. Reserve the webcam route for situations where it's genuinely your only option.
Full Workflow Reference
| Task | Tool | Notes |
|---|---|---|
| Photograph document → PDF | Scan to PDF | Works directly in mobile browser |
| Combine multiple scanned pages | Merge PDF | Upload individual page PDFs and combine |
| Make scanned PDF searchable | OCR PDF | Adds invisible text layer to images |
| Reduce scanned PDF file size | Compress PDF | 60-85% size reduction typical |
| Extract invoice data from scan | OCR PDF → Invoice Extractor | Two-step: OCR first, then extract |
| Share via WhatsApp / email | Compress first | Most portals have file size limits |
The full paperless workflow - smart document capture, multi-page PDF creation, OCR for searchability, compression for sharing - takes under 5 minutes for a standard document, entirely in a browser, with no files uploaded to any server. No CamScanner. No Adobe Scan. No app of any kind.
Conclusion: Skip the App, Scan in the Browser
Scanning documents to PDF no longer requires a dedicated app, an account, or a trip to a copy shop. A phone camera, good light, and PDFCrush Scan to PDF handle single pages and multi-page batches alike — cropped, combined, and downloaded as a clean PDF in under two minutes. Run the result through OCR PDF to make it searchable, then Compress PDF before sending it anywhere with a size limit.
The whole chain runs locally in the browser tab. Nothing is uploaded, no install is required, and the output is yours the moment the download finishes — which matters most for IDs, contracts, and anything else you'd rather not hand to a third-party server.
Frequently Asked Questions
Related Articles
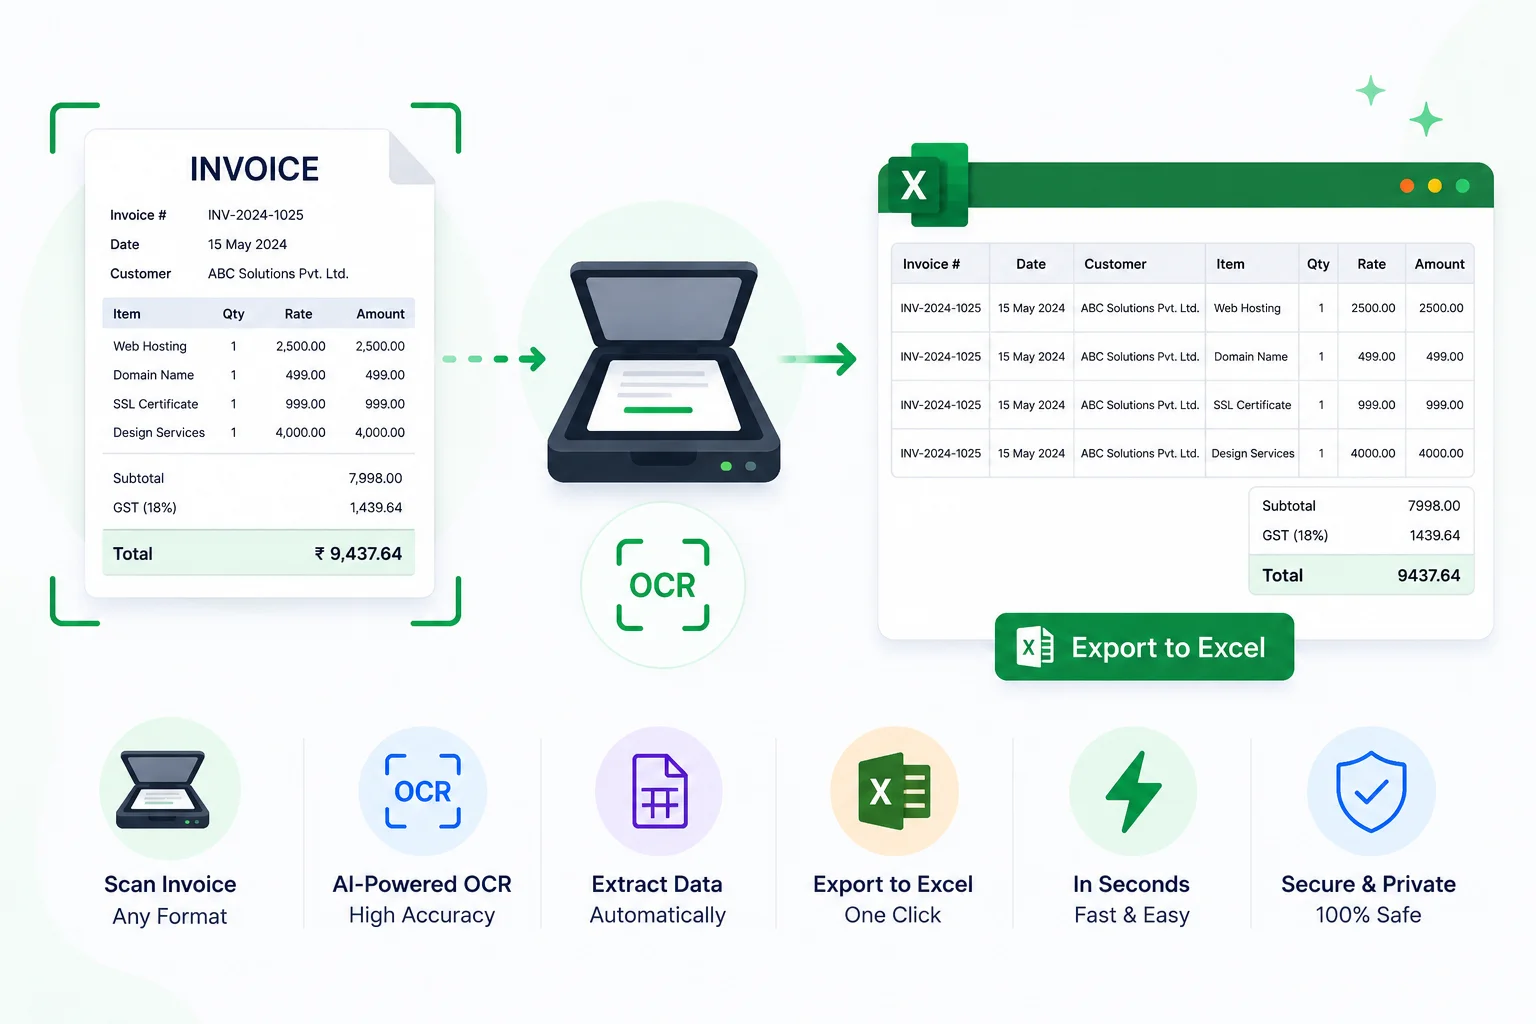
Free Invoice OCR - Scan Invoices and Export to Excel
Typing invoice data from PDFs into spreadsheets is slow, error-prone, and entirely avoidable. Here's how to extract vendor details, line items, and totals from any invoice PDF automatically - free, in your browser, no software needed.
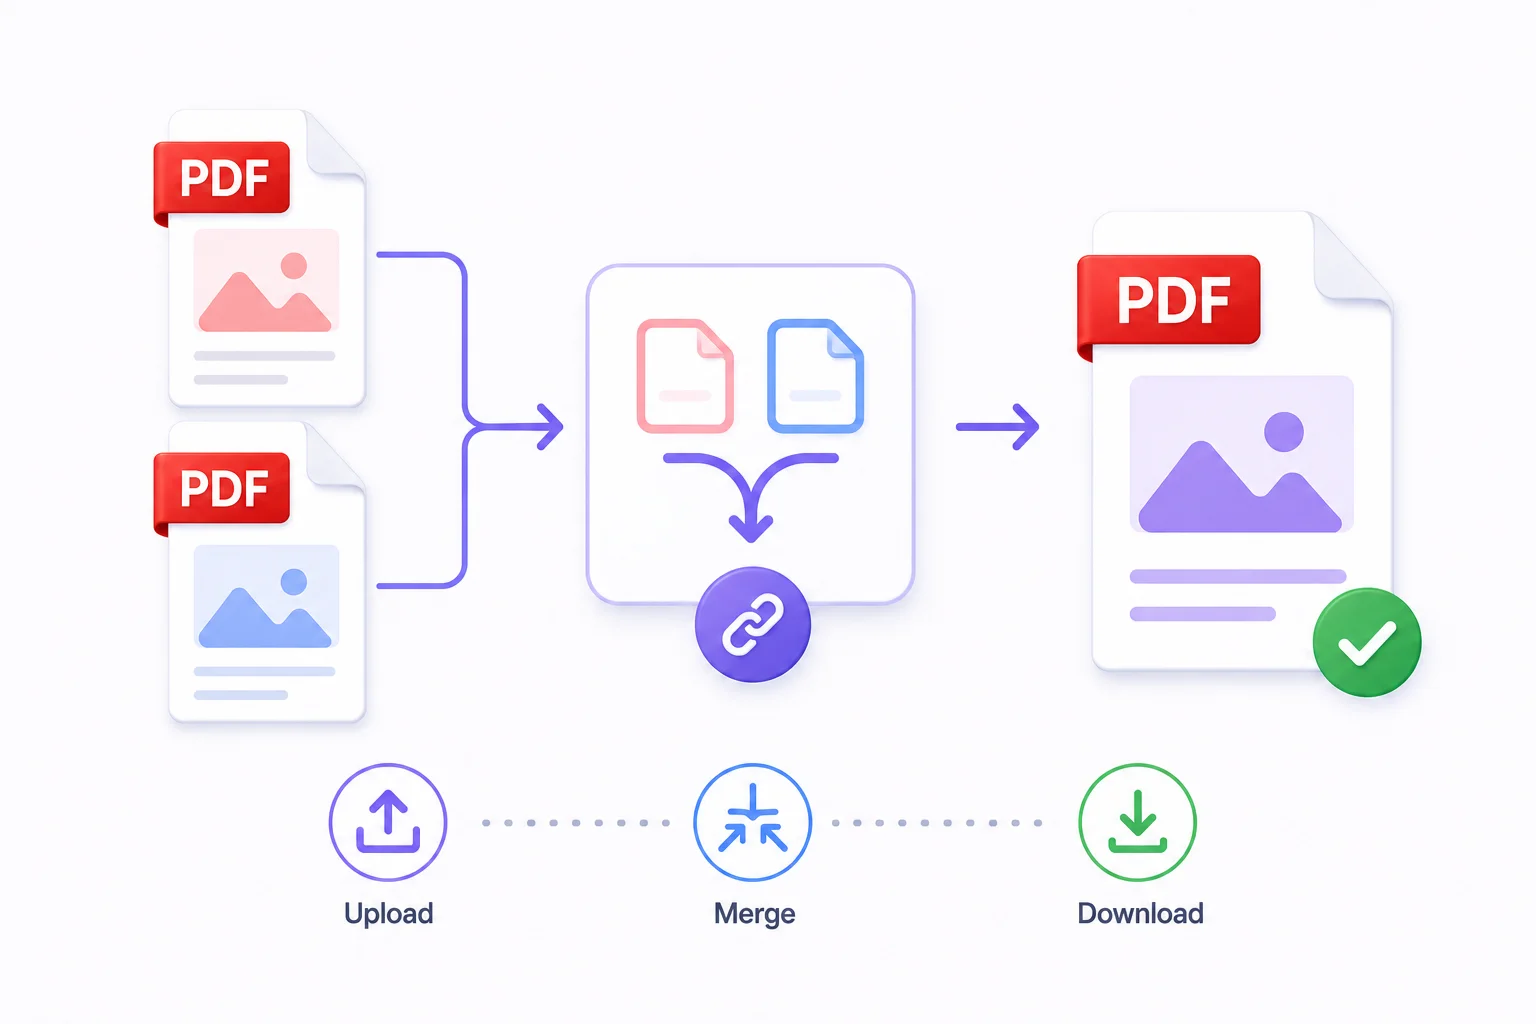
How to Merge PDF Files Online - Free & Fast
Whether you're combining a contract with its appendix, joining scanned pages into one document, or assembling a portfolio from individual pieces - merging PDFs takes under a minute with the right tool.
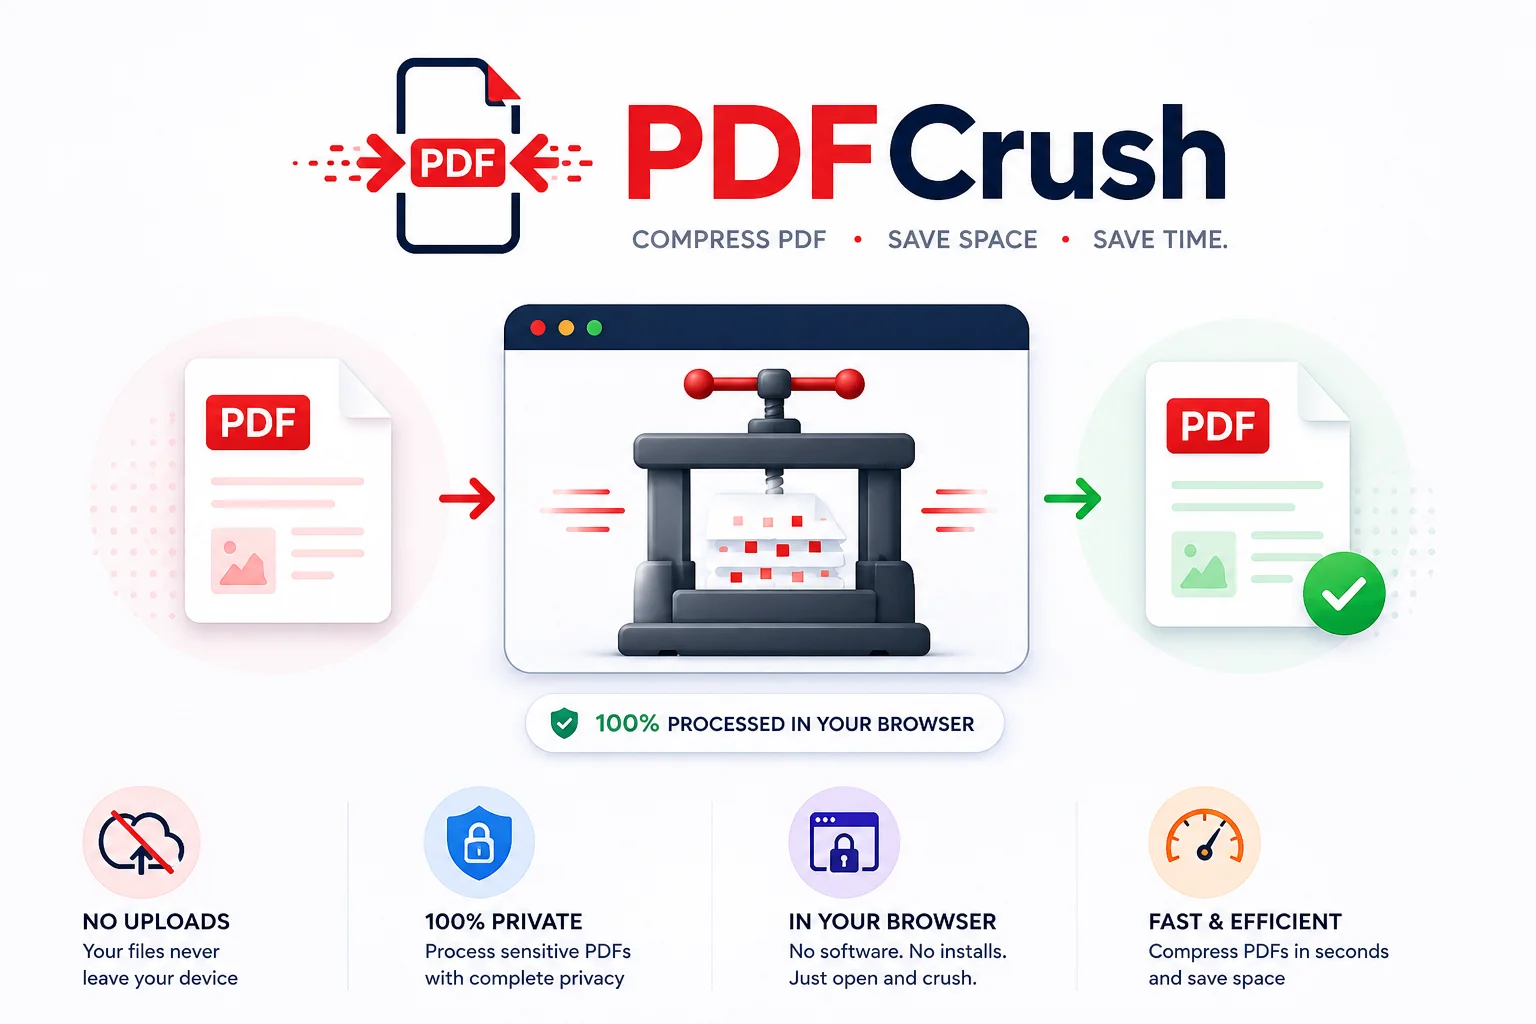
Stop Uploading Sensitive PDFs Online - Process Them Privately in Your Browser
Adobe costs $239 a year. Smallpdf throttles you at 2 files per hour. ILovePDF requires a sign-up for anything useful. PDFCrush does everything in your browser - compress, OCR, scan, extract, sign - with no account, no upload, no watermark, no limit. Here is why it works.