Best Free PDF Tools for Students in 2026
From merging scattered assignment files to compressing a resume before a portal deadline - here are the free PDF tools every student actually needs in 2026, with specific workflows for each.
You spend more time dealing with PDFs than you probably realize. Scanned assignments rejected at upload. Ten lecture files you need to combine before an exam. A government scholarship portal that caps uploads at 2 MB. A Canva resume sitting at 14 MB when the job portal accepts 2 MB. A declaration form you have to sign but can't print. The best free PDF tools for students in 2026 solve all of these — free, in a browser, without Adobe. None of them require any software installation. For a broader comparison across all users, see best free PDF tools 2026.
Quick answer: What are the best free PDF tools for students?
Compress PDF (for portal upload limits), Merge PDF (for combining assignment files), Edit PDF (for annotating lecture slides and signing declarations), OCR PDF (for making scanned notes searchable), and Split PDF (for extracting pages from downloaded documents). All run free in any browser — Chromebook, phone, or laptop — with no account or installation needed.
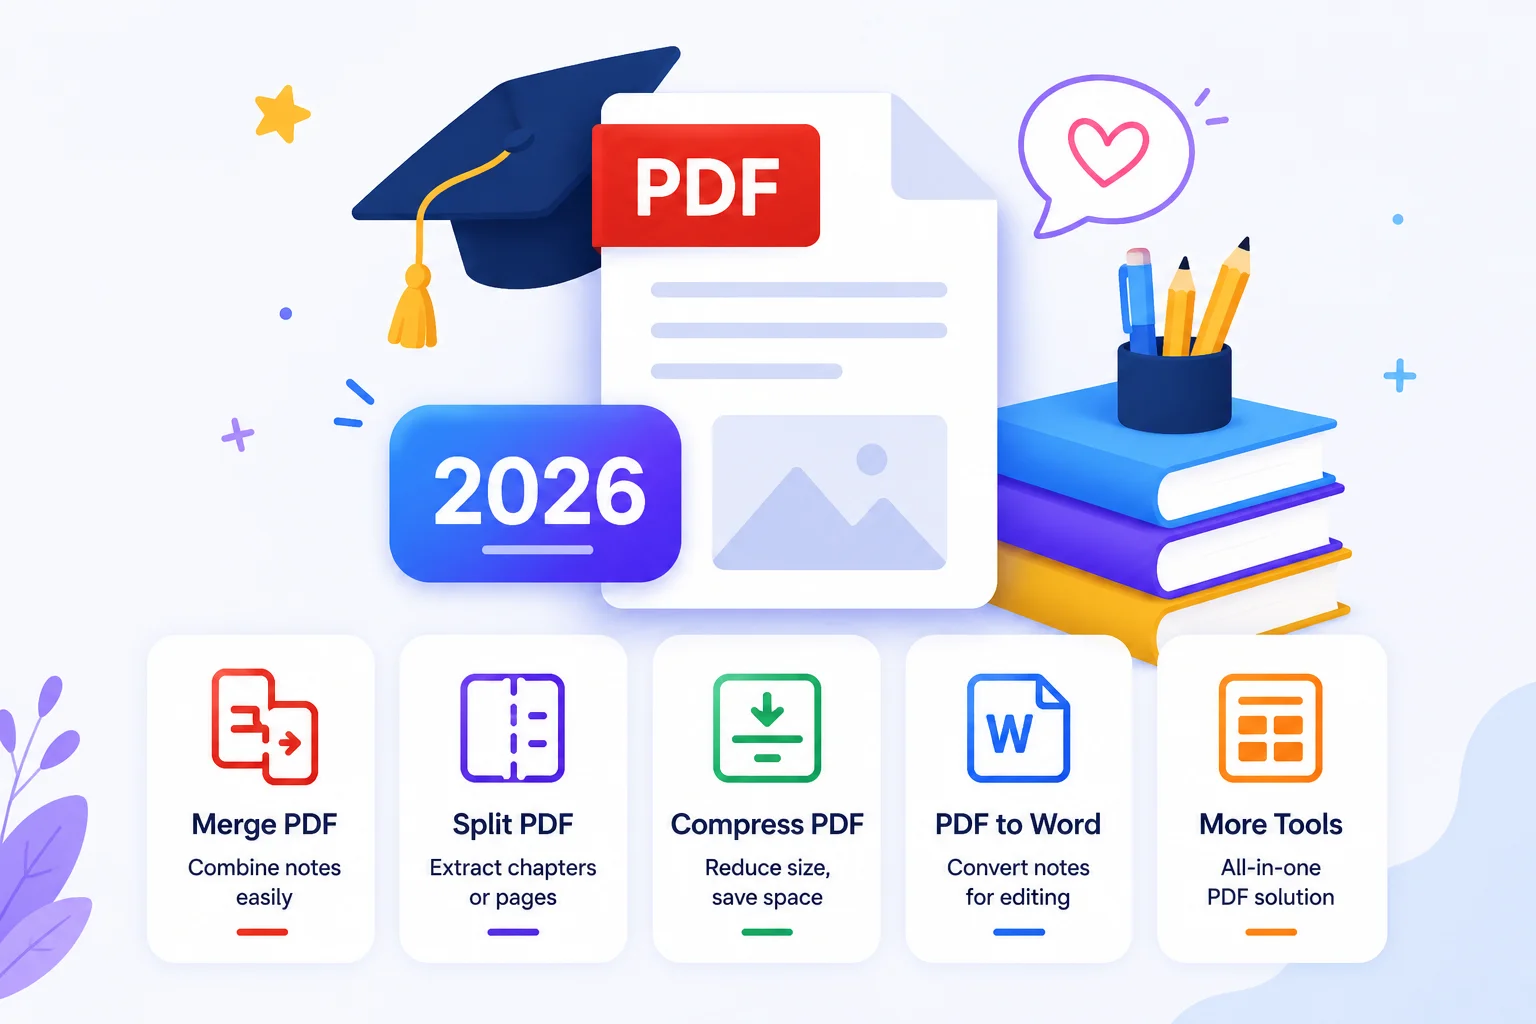
The Five Tools Every Student Should Bookmark
These five tools cover almost every PDF problem that comes up during a semester:
- Compress PDF — for upload limits on LMS portals, scholarship applications, and admission systems. Scanned assignments routinely exceed portal limits by 5–10x before compression.
- Merge PDF — for combining assignment files, lecture notes, and portfolios into a single submission. Also useful for combining slides with your own notes into one study document.
- Edit PDF — for annotating lecture slides, highlighting research papers, adding text boxes, and signing declarations. No Adobe account needed.
- OCR PDF — for making scanned handwritten notes searchable. After OCR, you can search for "recursion" or "demand curve" across your notes like any text document.
- Split PDF — for extracting specific pages from downloaded textbook chapters, long lecture packs, or multi-subject documents.
Everything else in this guide builds on these five.
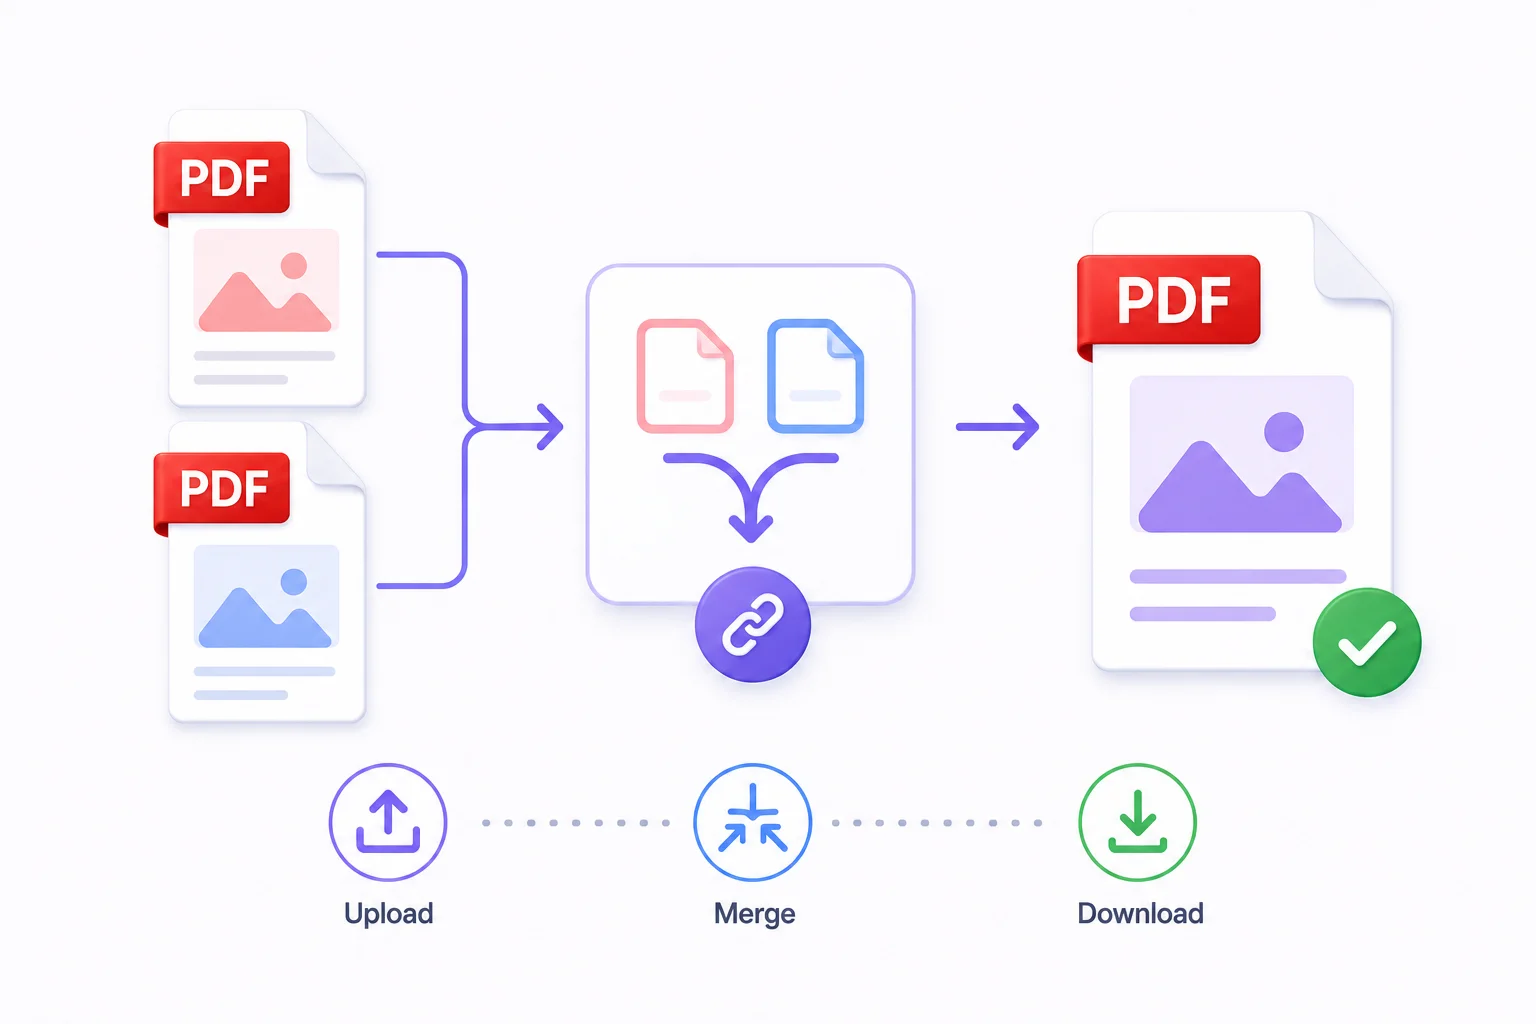
How to Merge Assignment PDFs
Submitting five separate files when a single clean PDF was expected makes a submission look disorganised — even when the content is solid. Even when portals technically accept multiple files, combining them into one document is always neater and easier for the person grading it. For a detailed walkthrough, see the guide to merging PDF files online.
When merging matters most
- Lab report with separate intro, method, results, and appendix files
- Group project where each member submitted their section separately
- Assignment combining a cover page, main document, and reference list scanned separately
- Portfolio collecting multiple pieces of work
- Application package combining a personal statement, CV, and certificates
How to merge assignment PDFs
- Open the Merge PDF tool
- Upload your files — click Add Files or drag them in
- Drag to reorder in the correct sequence (cover page first, appendix last)
- Click Merge PDF
- Download the combined file
- Check page order before submitting — takes 30 seconds and saves you a resubmission
The tool supports up to 20 files. There is no page limit on the combined output.
Before you submit
Consistent orientation: The merger preserves each page's original orientation — A4 portrait and A4 landscape can coexist in the same document. If you have genuinely mixed page sizes (A4 and US Letter), note it in your submission.
File order matters more than you think: Reorder before merging, not after. A cover page on page 12 is worse than submitting separate files.
Compress after merging: A merged 5-file document can be large. Run the final PDF through Compress PDF before uploading. It takes 20 seconds and frequently cuts 60–80% of the file size.
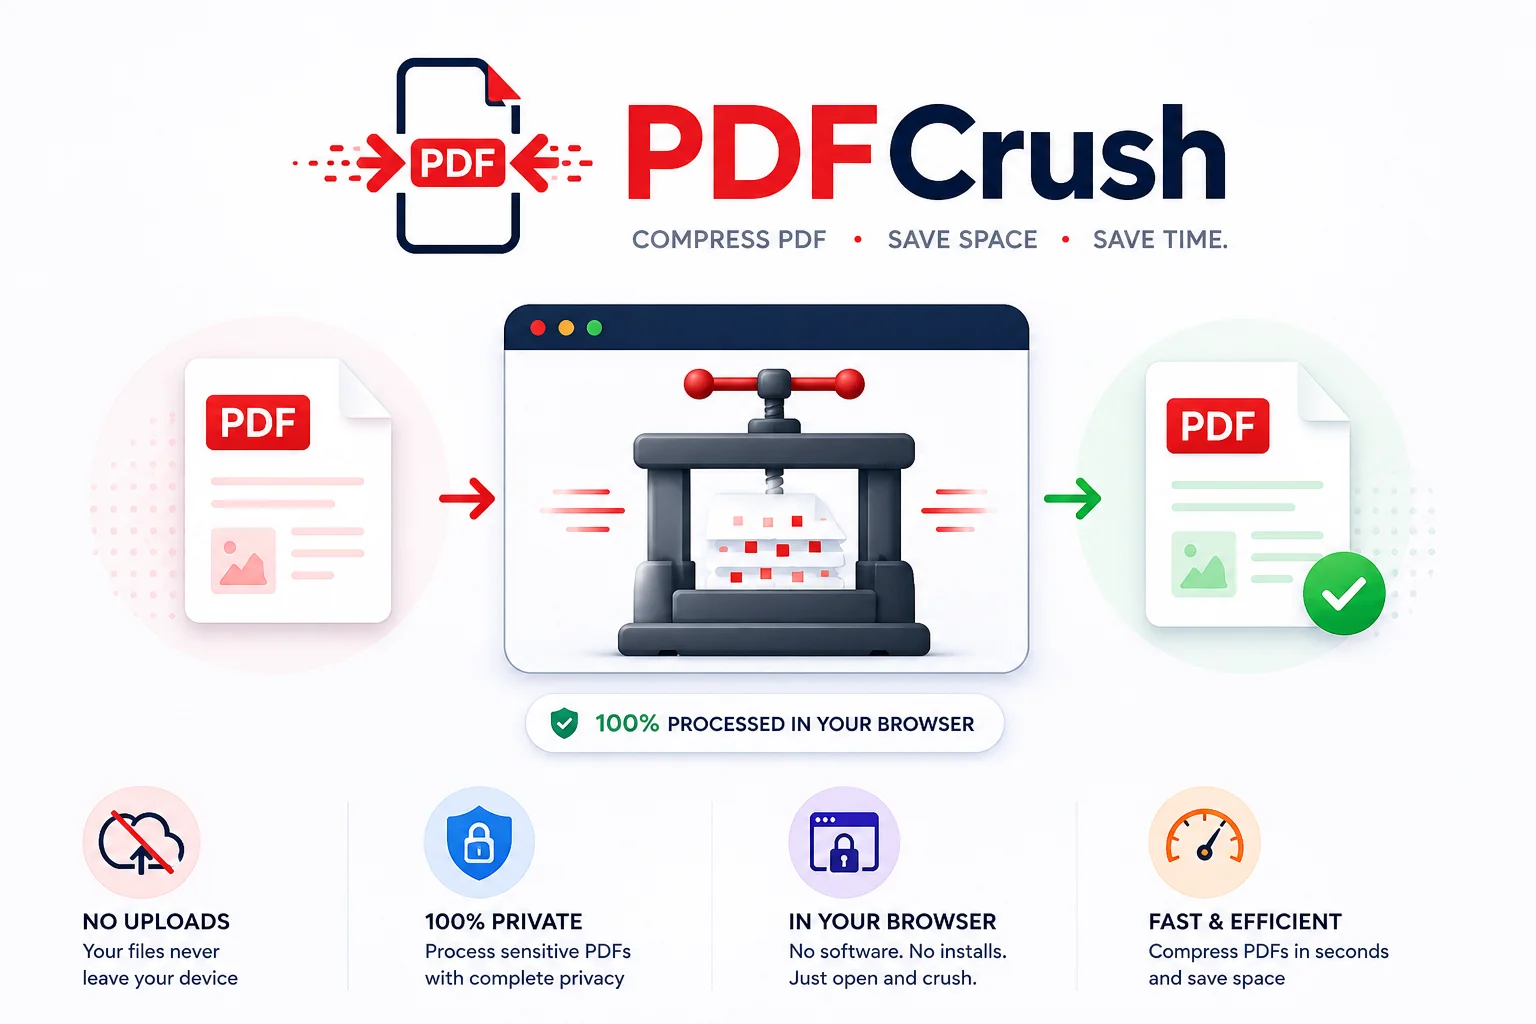
Compress PDF for College Portal Upload
Every portal has a file size limit. LMS systems (Moodle, Blackboard), scholarship applications, admission portals, and government scheme registrations all cap uploads — often far below what a scanned assignment actually weighs. The full guide to compressing PDFs for online form uploads covers portal-specific strategies in depth.
Common limits you will hit
| Portal type | Typical limit |
|---|---|
| University LMS (Moodle, Blackboard) | 5–20 MB (instructor-configured) |
| National scholarship portals | 500 KB – 2 MB per document |
| Admission portals | 1–5 MB |
| Internship application portals | 2–5 MB |
| Government scheme registrations | 1–2 MB |
Why scanned assignments are always so large
When you photograph or scan a handwritten assignment, each page is stored as a full-resolution image. A single page at 300 DPI in colour is 2–4 MB. A 10-page handwritten lab report can be 20–40 MB — ten times or more above any portal limit.
The 30-second fix
- Open Compress PDF
- Upload your assignment
- Select Maximum compression — scanned text and handwriting read identically at this level; the image quality change is not detectable at normal reading size
- Download — the tool shows exactly how much size was saved
Most scanned assignments go from 20–40 MB to 1–3 MB in a single pass. For a detailed explanation of what compression actually does to image quality, see the guide to compressing PDFs without losing quality.
When Maximum compression still is not enough
- Rescan at lower resolution: 150 DPI greyscale instead of 300 DPI colour. This halves the base file size before compression runs. Greyscale is more than sufficient for any handwritten or printed document.
- Split and submit in parts: Use Split PDF to divide the document into sections, compress each, submit as separate files if the portal allows it.
- Remove blank pages first: Blank pages at the end of scanned documents are common and add unnecessary weight. Use Remove Pages to strip them before compressing.
PDF Tools for Chromebook Students
Chromebooks are the most common student device — lightweight, affordable, designed for the browser. The problem: most desktop PDF software does not run on ChromeOS. Adobe Acrobat does not install. Neither do most traditional tools.
Browser-based PDF tools are, in practice, built for Chromebooks. Everything runs in Chrome with no compatibility issues, no installation, and no storage overhead.
Full Chromebook-compatible toolkit
| Task | Tool | Works on Chromebook |
|---|---|---|
| Compress for upload | Compress PDF | ✅ |
| Merge assignment files | Merge PDF | ✅ |
| Annotate lecture slides | Edit PDF | ✅ |
| Sign forms and declarations | Sign PDF | ✅ |
| Fill application forms | Fill PDF Form | ✅ |
| Make scanned notes searchable | OCR PDF | ✅ |
| Extract specific pages | Split PDF | ✅ |
| Scan documents with phone | Scan to PDF | ✅ |
| Password-protect documents | Protect PDF | ✅ |
Working with Google Drive on Chromebook
Chromebooks integrate with Google Drive natively. The PDF tool workflow slots into this cleanly:
- Store your files in Google Drive
- Open a browser tab with the PDF tool you need
- Select your file — Chrome's file picker surfaces Google Drive files directly
- After editing, download to your Downloads folder
- Move back to Drive or submit directly from Downloads
For Google Classroom: download the assignment PDF, edit or sign it in the browser, re-upload. The full workflow is under two minutes.
Pin PDFCrush as a Chrome shortcut on your Chromebook - open any tool URL, click the three-dot menu, then "Create shortcut." It appears in your app launcher alongside native apps.
Organizing Lecture Notes as PDFs
Lecture notes accumulate fast. By week six of a semester, most students have dozens of PDFs across subjects — some scanned from notebooks, some downloaded from the LMS, some exported from presentations. Finding anything specific becomes slow and frustrating.
A simple system fixes this.
Three-step note organization
Step 1: Name files consistently. Rename every lecture PDF before saving: SubjectCode_Week_Topic.pdf — for example, CS301_Week03_Recursion.pdf. Consistent naming makes sorting and searching instant. Dates in filenames work too: 2026-02-14_CS301_Recursion.pdf.
Step 2: Merge by unit. At the end of each teaching block, merge all lecture PDFs for that unit into a single file — CS301_Unit1_Complete.pdf. One file per unit is easier to search, annotate, and revise from than twenty individual session files.
Step 3: Make scanned notes searchable. Any handwritten notes scanned to PDF should be run through OCR PDF. After OCR, you can search for specific terms across your notes in any PDF reader — search for "recursion" and it highlights every page where you wrote that word, including handwritten pages.
Merging lecture slides with your own notes
A useful exam technique: merge the lecturer's PDF slides with your typed or scanned notes from each session. The combined PDF gives you the visual reference alongside your own commentary in one searchable document.
- Download the lecture slides PDF
- Export or scan your own notes as a separate PDF
- Open Merge PDF — upload slides first, notes second
- Merge — one combined study resource per lecture, everything in one place
Annotating downloaded lecture PDFs
For PDFs downloaded from the LMS, Edit PDF lets you mark them up directly — without printing. Everything the guide to editing PDFs without Adobe covers applies here:
- Highlight key definitions and formulas
- Add text boxes with your own questions or reminders ("review this before the exam")
- Draw arrows linking related concepts on the same page
- Stamp pages with IMPORTANT or REVIEW for quick scanning during revision
The annotated PDF becomes your personalised study document — the original content plus your own layer of understanding, combined and searchable.
PDF Tasks for School and University Projects
Projects generate a mix of PDF tasks — cover pages, signed declarations, research annotations, image insertions, page numbering. Here is how to handle each one quickly.
Filling a cover page or declaration: Most institutions provide PDF templates. Use Fill PDF Form for interactive forms with fillable fields. For flat PDF templates (where you need to type over the form), use Edit PDF to add text boxes positioned over each field.
Signing a declaration of originality: Open Sign PDF, draw or type your signature, place it on the declaration page, download. Done in 60 seconds — no printing, no scanning.
Annotating research papers for a literature review: Download the paper as a PDF, open in Edit PDF, highlight key passages, add text box notes on methodology or conclusions. Your literature review notes stay attached to the source document in context.
Inserting diagrams or charts into a report: Use Add Photo to PDF to insert images into any PDF page, positioned and resized precisely.
Adding page numbers before submission: Use Add Page Numbers. Most institutional submission guidelines require numbered pages; this takes 20 seconds and makes your project look professional.
Anonymising personal data before submission: If a case study or project references personal data that should not be visible — names, ID numbers, contact details — use Redact PDF to permanently black out those sections.
Final submission checklist
Before submitting any project PDF:
- Cover page filled and signed
- Page numbers added
- All images and charts included and readable
- File size is within the portal limit (compress if needed)
- File named correctly per submission guidelines
- Password protection added if the portal requires a secure upload
Getting Your Resume Under 1 MB for Internship Applications
Internship applications fail on small details. A resume that is 14 MB does not upload. A resume that opens slowly on a recruiter's phone does not get read properly. File size matters more than most students realize — and fixing it takes 30 seconds.
What each platform actually accepts
| Platform | Maximum | Ideal size |
|---|---|---|
| Naukri.com | 2 MB | Under 500 KB |
| 5 MB | Under 1 MB | |
| Internshala | 5 MB | Under 1 MB |
| Indeed | 5 MB | Under 1 MB |
| Company career portals | 2–5 MB | Under 1 MB |
| Email to recruiter | 20–25 MB | Under 500 KB |
The ideal size is stricter than the limit for three practical reasons:
- Some ATS systems enforce limits not shown to applicants during upload
- Smaller files open faster — a recruiter reviewing 100+ resumes notices this
- Corporate email servers sometimes silently drop attachments above internal limits even when the stated limit is higher
Why a student resume ends up at 10–15 MB
Canva, Adobe Express, Figma, and similar tools export at print quality — 300 DPI with embedded fonts, high-resolution background images, and design assets. A one-page Canva resume can be 8–15 MB. Everything looks identical to the recipient at under 1 MB.
Fix it in 30 seconds
- Export your resume as PDF from your design tool
- Open Compress PDF
- Select Balanced compression — keeps the design sharp while cutting size 40–60%
- Download and check the file size
- If still above 1 MB, switch to Maximum — the visual difference on screen is genuinely undetectable
After downloading, open the compressed file at 100% zoom. Check your name, contact details, and any headshot. On Balanced compression, everything looks identical to the original. On Maximum, there may be very slight softness on design elements at extreme zoom — but nobody reviews a resume at 400%.
Maintain two versions: a "master" at full quality for editing, and a "send" version at compressed size. Update the master when you change content, compress again, save over the send version. Do this once and it becomes automatic habit.
PDF vs Word for resume submission
Most portals accept both. PDF is almost always the better choice:
- Formatting is locked — it looks identical on every device and OS
- Fonts are embedded — no substitution on systems without your specific font
- No editing risk — a recruiter cannot accidentally modify the content
- Smaller after compression than an equivalent Word file with embedded images
Submit Word only if the portal or recruiter explicitly requests it for ATS parsing. Otherwise, PDF.
Protecting Student Documents
Students share sensitive documents constantly — transcripts, ID copies, financial statements for scholarships, recommendation letters. The guide to not uploading sensitive PDFs online explains the risks in detail. A few practices protect you:
Password-protect before emailing. Use Protect PDF. Send the document by email, the password by a separate text or message. If the email is forwarded, the document stays locked.
Use tools that process files locally. PDFCrush runs entirely in your browser — your file is never transmitted to any server. For ID documents, financial records, and academic certificates, this is worth knowing. Do not upload sensitive documents to services you cannot verify.
Redact before sharing. If a document contains personal information not relevant to the recipient — remarks on a recommendation letter, other people's names on a certificate — redact those sections before sharing.
Quick Reference: Student PDF Toolkit
| Situation | Tool |
|---|---|
| Assignment too large for portal | Compress PDF |
| Multiple files to submit as one | Merge PDF |
| Only need specific pages from a document | Split PDF |
| Scanned notes not searchable | OCR PDF |
| Need to sign a declaration or form | Sign PDF |
| Need to fill an application form | Fill PDF Form |
| Annotating lecture slides | Edit PDF |
| Adding diagrams to a project report | Add Photo to PDF |
| Resume too large for Naukri / LinkedIn | Compress PDF |
| Protecting sensitive documents | Protect PDF |
| Scanning handwritten notes with phone | Scan to PDF |
| Adding page numbers to a project | Add Page Numbers |
These tools are free, require no account, and work in any browser — including Chromebook, iPhone, and Android. No installation, no file size limits, nothing uploaded to a server.
What We Found — Testing These Tools as a Student
We ran each tool through the exact scenarios students face most frequently.
Scanned assignment compression: A 10-page handwritten lab report photographed on a phone at default camera quality came in at 31 MB. After Maximum compression, it was 2.1 MB — well within every portal limit we tested. Text remained legible at 150% zoom. No detectable quality loss at normal reading size.
Resume compression from Canva export: A one-page Canva resume exported at default settings was 11.4 MB. Balanced compression brought it to 680 KB. Maximum brought it to 310 KB. Both versions looked pixel-identical at 100% zoom.
Merge with mixed sources: Combining a typed cover page, five scanned appendix pages, and a downloaded certificate PDF (three different sources, two different orientations) merged cleanly. Page order was preserved exactly. File size after merging was 8 MB, down to 1.1 MB after a compression pass.
OCR on handwritten lecture notes: Dense handwritten notes on lined paper (clear handwriting, good phone scan) achieved around 85–90% OCR accuracy — sufficient to make key terms searchable. Diagrams and equations were preserved as images. Messy handwriting or low-contrast paper reduces accuracy; a cleaner scan significantly improves it.
Chromebook compatibility: All tools loaded and ran in Chrome on a mid-range Chromebook without issues. No installation prompts, no compatibility errors, no crashes on files up to 50 MB.
Common Mistakes Students Make With PDFs
Submitting before compressing. The single most common failure is uploading a 25 MB scanned assignment to a portal with a 5 MB limit. Always compress after scanning, before uploading.
Merging in the wrong order. Files merge in the order they appear in the tool. Dragging to reorder takes five seconds and is always worth doing before clicking Merge.
Using Maximum compression on a designed resume without checking. Maximum compression is fine for most resumes, but always open the output file at 100% zoom before sending. Design-heavy resumes with gradients or fine text occasionally show compression artefacts at extreme zoom.
Uploading sensitive documents to unverified online services. ID scans, bank statements, and scholarship documents should never be uploaded to services without a clear privacy policy. Use tools that process locally.
Forgetting to sign the declaration before submitting. A missed signature on an originality declaration causes resubmissions and deadline stress. Add it to your checklist before compressing the final file.
Scanning in colour when greyscale is enough. Colour scans of handwritten notes are 2–3x larger than greyscale scans of the same content. Switch your scanner app to greyscale before scanning text-only documents.
The Right Tools for Student PDF Tasks
The tools that solve the most student PDF problems — all free, all browser-based, nothing uploaded to any server:
Compress PDF — handles the single most common student problem: file too large for the portal.
Merge PDF — combine scattered assignment files into one clean submission.
Split PDF — extract specific pages from downloaded textbooks or long lecture packs.
Edit PDF — annotate lecture slides, highlight papers, add text to forms, sign declarations.
Protect PDF — password-protect sensitive documents before emailing them externally.
Every Student PDF Problem, Solved
The PDF problems students face — upload rejections, scattered files, unsigned forms, oversized resumes — all have fast, free solutions that run in a browser tab. No Adobe subscription. No software installation. No account.
Bookmark the five core tools, run your files through them as part of your submission routine, and those problems stop happening. Compress before uploading. Merge before submitting. Sign before sending. The workflows take under a minute each — far less time than dealing with a failed upload at deadline.
Frequently Asked Questions
Related Articles
How to Merge PDF Files Online - Free & Fast
Whether you're combining a contract with its appendix, joining scanned pages into one document, or assembling a portfolio from individual pieces - merging PDFs takes under a minute with the right tool.
Best Free PDF Tools in 2026 - Full Comparison
A side-by-side comparison of the best free PDF tools in 2026 - PDFCrush vs Smallpdf, iLovePDF, Adobe Acrobat, and the top browser-based editors. What each tool actually does, where each one limits you, and which one fits your workflow.
Stop Uploading Sensitive PDFs Online - Process Them Privately in Your Browser
Adobe costs $239 a year. Smallpdf throttles you at 2 files per hour. ILovePDF requires a sign-up for anything useful. PDFCrush does everything in your browser - compress, OCR, scan, extract, sign - with no account, no upload, no watermark, no limit. Here is why it works.